If you’ve ever owned an iPhone in your lifetime, chances are you’ll be familiar with the following message: “iPhone Storage Full. You can free up space on this iPhone by managing your storage in Settings.” Cue expletive.
In recent years, Apple has done a nice job of improving the way iPhone storage is displayed and managed, but if you’re someone who likes to take snaps and screenshots of anything and everything you see – and let’s face it, who isn’t these days? – then maxing out your iPhone’s camera roll remains a distinct possibility.
Thankfully, Apple introduced a handy way of optimizing photos (i.e. compressing them to save storage) back in 2017. Appropriately dubbed Optimize Photos – or Optimize iPhone Storage, if your iPhone is running an older version of iOS – this setting, which can be found by navigating to Settings > General > iPhone Storage, promises to free up huge chunks of space in your iPhone’s hard drive.
But what does Optimize Photos actually mean for all your precious images? Once you hit that shiny button, where do these photos go? And more importantly, how do you get them back? Allow us to explain.
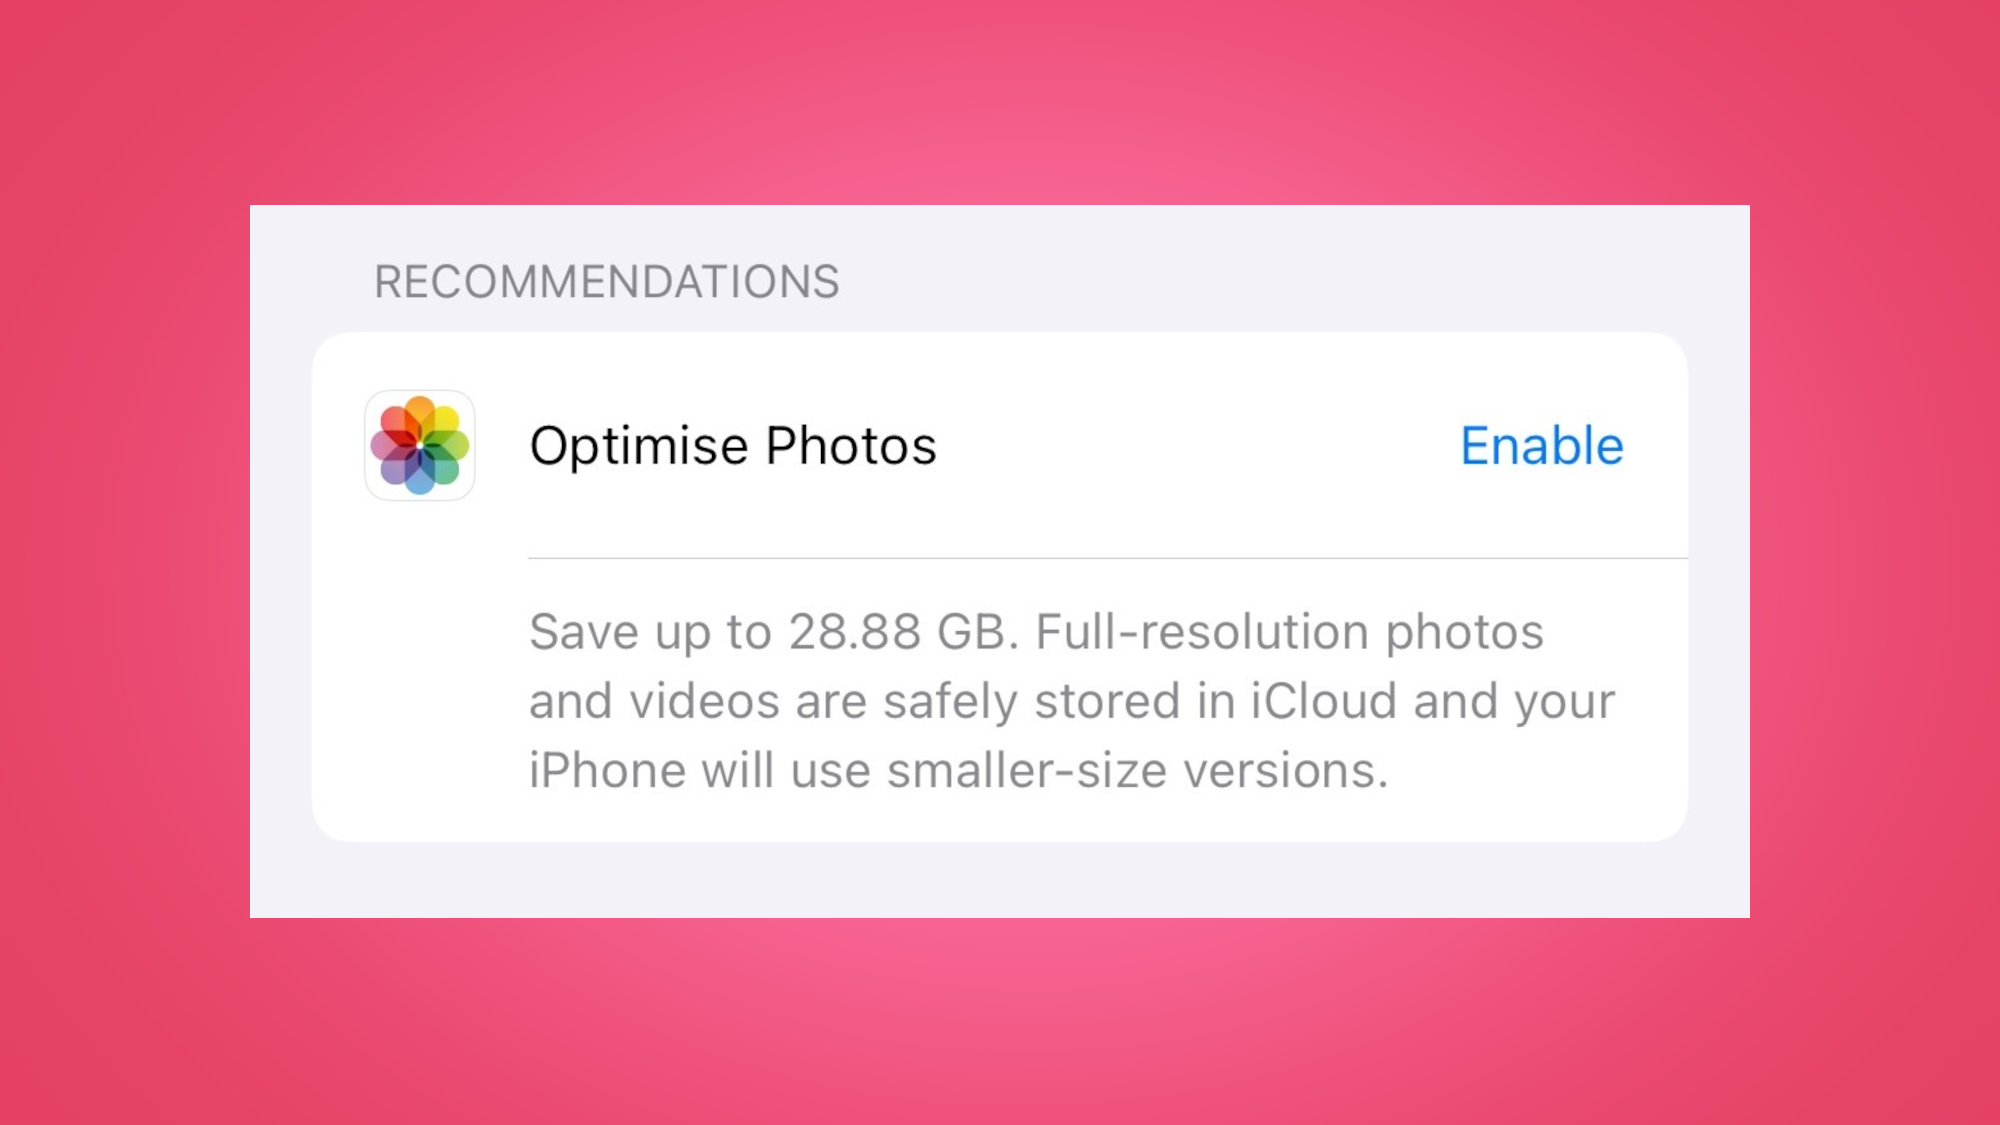
Per the note displayed under the setting itself, Optimize Photos means “full-resolution photos and videos are safely stored in iCloud, and your iPhone will use smaller-size versions.” As a reminder, iCloud is Apple’s cloud-based platform for securing and transferring data between Apple devices. Once you activate Optimize Photos, you’re still able to access photos in their original, full-res format, but you’ll need to download them individually (from iCloud) as and when you want them.
Obviously, the big advantage of Optimize Photos is that large-file photos are converted to small-file photos, thus freeing up iPhone storage. And, depending on how many images you have stored up in your camera roll, the savings can be huge. In my iPhone, for instance, Optimize Photos would free up 28.88GB of storage – that’s enough to download another 5000 songs on Spotify, or around 25 90-minute movies on Netflix.

As we’ve mentioned, the disadvantage of Optimize Photos is that, in order to get your full-res photos back, you’ve got to download them from iCloud. On the surface, this isn’t a difficult process. The small-res versions in your camera roll are more like thumbnails – clicking on an image will automatically load up a full-quality version to be viewed and shared, before your iPhone offloads that image back to the cloud later on. So far, so good. The big downside is that this process requires an internet connection. And a fast one, too.
If you’re at home, in the office, or out and about in a city with plentiful 4G (or 5G) coverage, it won’t take long for your iPhone to load up a full-quality version of the image you want to see. However, if you’re commuting, on a flight, in an area with poor internet coverage, or even abroad (where internet can be expensive), your iPhone might struggle to download the image (if it can download it at all). In other words, Optimize Photos locks your photos away in a safe that can only be opened with a strong internet connection.
For most people, this won’t be a problem – but it’s worth bearing in mind before you cash in on the promise of more iPhone storage. It’s also worth noting that you’ll need to have enough spare iCloud storage to accommodate the large photo files that Optimize Photos converts. If not, you’ll be met with a message that’s just as annoying (if not more) than that iPhone storage warning: “iCloud Storage Is Full.”
To avoid that problem, here are five tips on how to free up iCloud storage. And if you’re interested in what that pesky ‘Other’ category refers to in your iPhone storage settings, here’s what ‘Other’ storage is and how you can delete it.


0 Comments
If you have any doubts, Please let me know